|
| ||
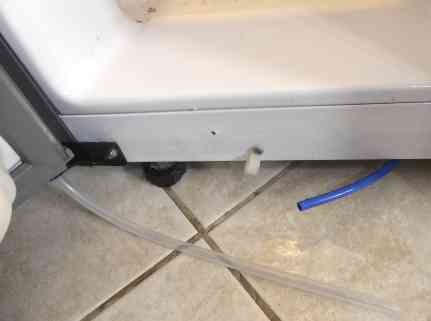
LG Fridge-freezer model GW-L2071FSV LeakingThe fridge-freezer was spreading water across the kitchen floor towards the Christmas tree and its associated lighting power supplies! | ||
|
| ||
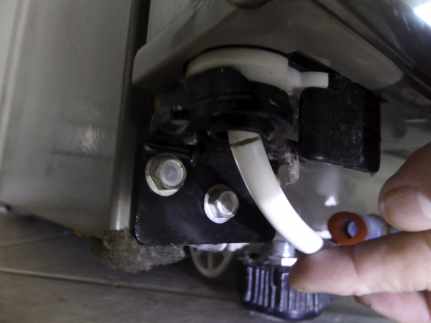
| I checked and found that the plastic tube feeding the chilled water dispenser had cracked where it entered the door hinge. | ||
|
| ||
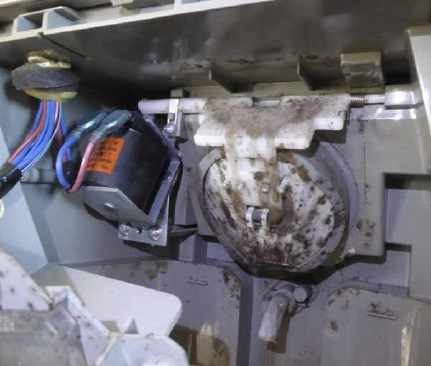
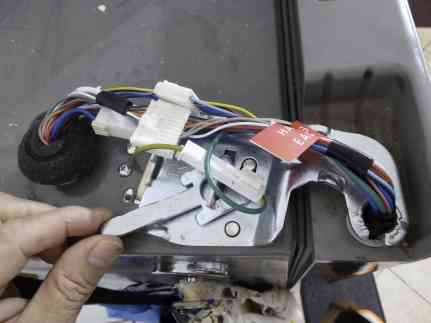
| I dismantled everything on the door which unscrewed or unclipped and still couldn't get access to the pipe inside. While I had it all apart, I sprayed the mould with hydrogen peroxide and cleaned it all away till the mechanism was spotless. | ||
|
| ||
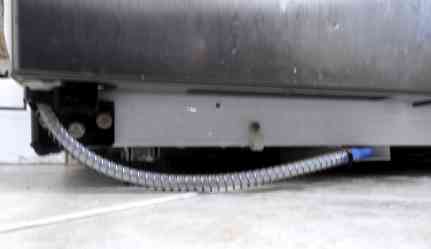
| I inspected the cracked pipe under the freezer again. I removed the wire spiral to get a better look. It was well and truly broken. I slid a length of Polyolefin heatshrink sleeving over the cracked pipe and heated it with a Black & Decker paint stripper gun. However, the heat made the pipe distort and broke the seal. | ||
|
| ||
| So I searched my workshop and located a length of narrower pipe, which was a tight fit inside the cracked pipe. I managed to force both ends in and turned the water valve on. All working and no leak! On reflection, I might have used superglue. However, if the patch pipe falls out or cracks it is very easy to replace. So I'll leave the friction fit alone. Next day: the new pipe fell out when I opened the door so I applied superglue and forced it into the end of the pipe inside the door hinge. Two days later there was a pool of water on the floor! The old pipe had cracked again. It was really difficult to access so I decided to take the door off. (Empty the freezer and turn off the power.) I started by removing one recessed screw that holds the top hinge cover in place. This exposed the clamp that holds the top hinge, which is actually a slotted tube welded to a bracket. Disconnect the four white plugs by pressing the tiny levers and pulling apart. They are all different so you can't reconnect them incorrectly. | ||
|
| ||
| Pull the release lever towards you then tap it towards you until it comes out completely. With someone supporting the door (in case the magnetic strip fails to hold it) lever the hinge bracket up and out of the way, threading the wires out of the slotted tube as you do so. The door can now be opened and lifted off the bottom hinge bracket. | ||
|
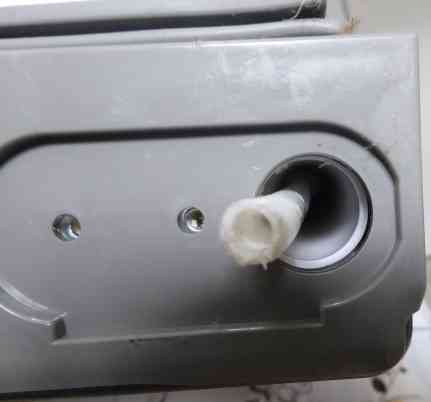
Remove the two cross-head screws that secure the bottom moulding.
With the moulding out of the way, you'll see more of the tube sticking out of the door. Trim the end and make sure that its edge is smooth.
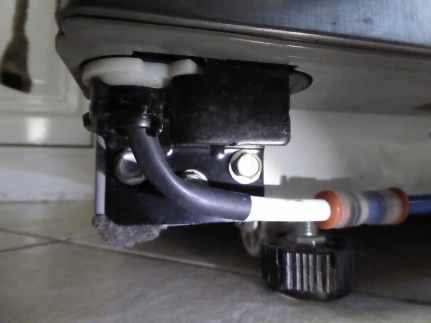
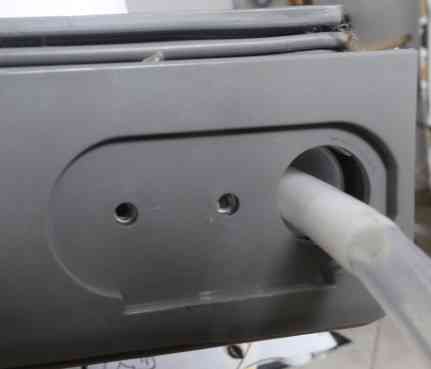
Slide a length of silicone tube onto the plastic tube. The silicone tube must be 10mm outside diameter and 8mm inside. (I bought "food grade silicone tubing" via eBay.) It is extremely flexible and won't suffer from the cracking problem. You might need to lubricate it if it is too tight to force onto the white plastic tube.
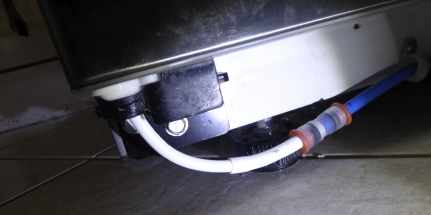
To allow the silicone tubing plenty of length in which to twist when the door opens, you could cut the blue plastic pipe shorter. (This might not be necessary but I did it anyway.) Remove the sharp edge on the blue tube then push the silicone tubing onto it. | ||
| Note: the original "spring" won't fit over the silicone tubing. If your water pressure is low (below 3 bar) you probably won't need it. I have found a suitable spring on eBay. It has an 11mm internal diameter and is 300mm long. Alternatively, you might make your own by winding wire onto an 11mm diameter rod. | ||
|
| ||
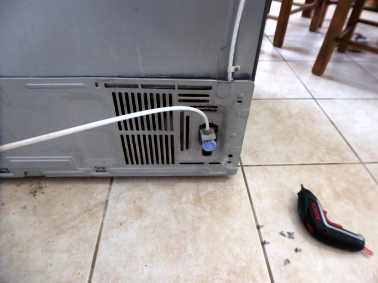
| In the end, it was a cheap and easy repair and certainly cheaper than the new door assembly, which the shop wanted to order for me (at my expense!) Question: why did LG, the manufacturer, use brittle plastic tubing that would obviously crack eventually? October 2017 (This repair is still OK in July 2021.) July 15, 2021 Well, that was premature. The silicone tube has just blown off and dumped a pool of water. It seems that there's a blockage somewhere in the pipe inside the door and I can't get inside to locate it. So, as a temporary/permanent solution, in order to keep the ice-maker working but avoid floods, I have done the following: First, unplug the live power connection from the wall socket! Remove the screws from the lower rear panel, noting the the earth screw, lower left (not in the photos) has a lockwasher and a different thread. It MUST be replaced tightly to hold the ring tag with the earth wire! | ||
|
| ||
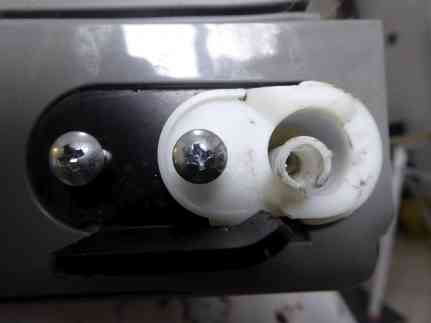
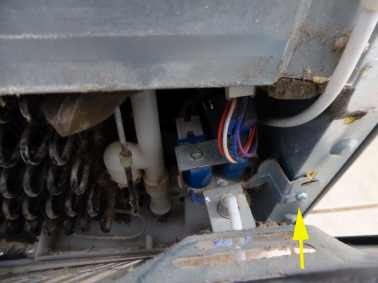
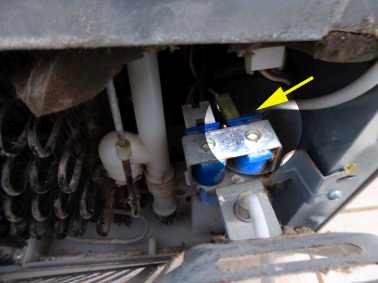
| With the panel lying flat, remove the single screw that holds the bracket to which two solenoid valves are mounted.
| ||
| Now pull one of the connectors off the right-hand solenoid and screw the bracket back in place.
Replace the rear panel, noting the earth screw comment, above. The solenoid can not be energised by the water dispenser lever but the ice-maker should still work as normal. | ||
| Send this page address - CLICK HERE - to a friend ! | ||