|
| |
Motorbike LED Spotlights | |
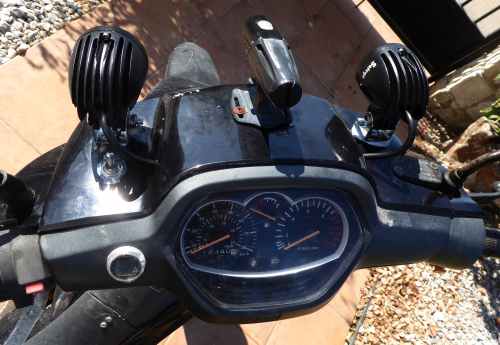
| Even though I changed the headlight bulb on my motorbike to an LED, it's still not as bright as I'd like. Consequently, I ordered two LED spotlights and fitted them on top of the headlight housing. (I used Blu-Tack® to make gaskets beneath the metal brackets.) | |
|
| |
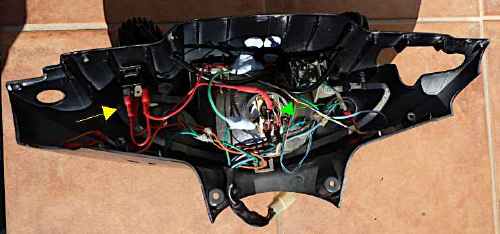
| Below, you can see the final wiring. The green arrow points left at the two 1N5400 (3 Amp) diodes that feed power from the dip- and main-beam contacts on the headlamp socket. The yellow arrow points right at the on/off switch, which I fitted because I won't always need the spotlights to be on. | |
|
| |
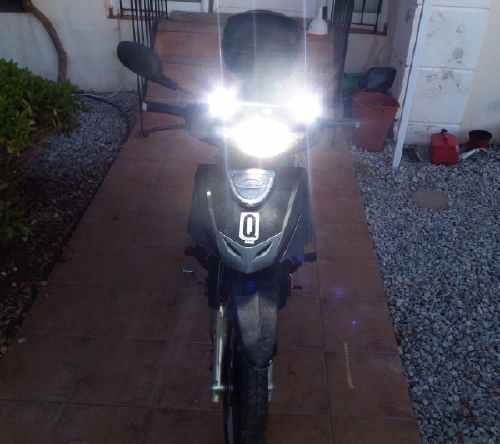
| The final arrangement with an LED spotlight on each side and, in the centre, an additional LED spotlight that I bought some time ago in Halfords. It's intended to be strapped to a cyclist's helmet but I screwed it to the plastic headlight housing. Hopefully, I won't need it in future but I'll keep it in the helmet box for emergencies. | |
|
| |
|
| The final result is two spotlights, which can be directed to form a bright pool of light (or two) where you most need it. |
|
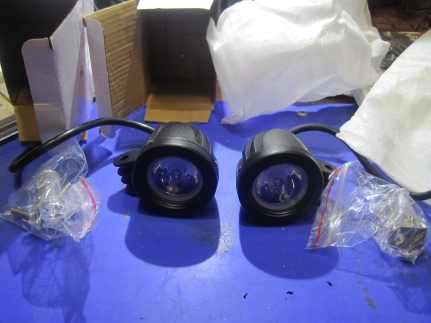
| I had ordered a spare pair of LED spotlights for my mobike because they don't last forever and I had noticed that very few suppliers were offering them now. I got them while I still could. |
|
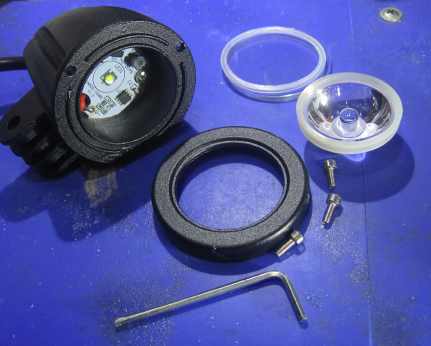
| The LED is mounted on an aluminium substrate. Previous ones had no screw and insufficient heat sink compound between the aluminium substrate and the diecast housing that acts as a heat sink. So I opened the new laps to take a look. These had a single screw securing the aluminium plate but NO heatsink compound at all! |
|
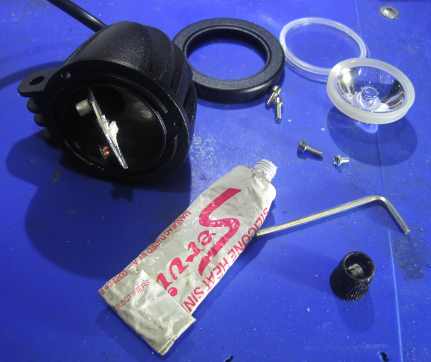
| So I added a blob of compound to the rear of the aluminium plate and reassembled it with TWO screws. The heatsink compound comprises silicone grease with zinc oxide powder. This compound squeezes into any tiny air gaps (interstices) between the two metal surfaces and improves heat transfer, allowing the LEDs to run cooler and last longer. |
| Send this page address - CLICK HERE - to a friend ! | |