|
| ||
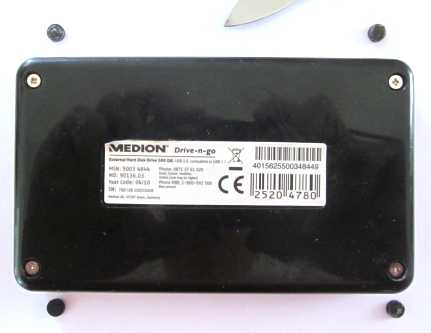
Medion Drive-n-Go failureThe blue light comes on, the drive can be heard spinning and the head can be heard "seeking" but the computer can't detect it and file-recovery software couldn't do anything with it. First thing to do is remove the internal drive and test it in a caddy. Use a sharp blade to prise out the rubber feet, which are held with glue.
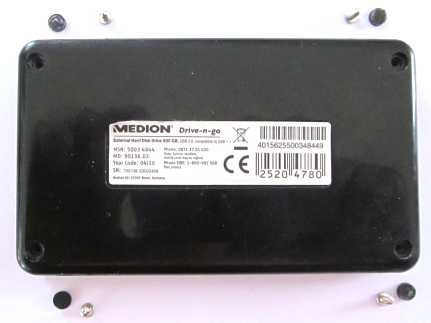
Use a #1 Posidriv cross-head screwdriver to remove the four screws.
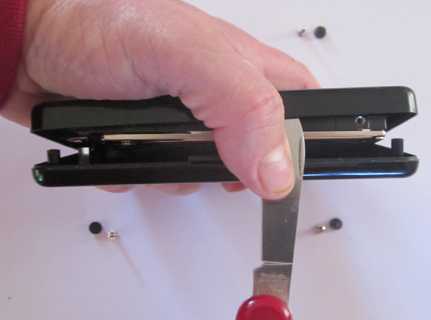
Use a suitable blade to prise apart the two plastic mouldings.
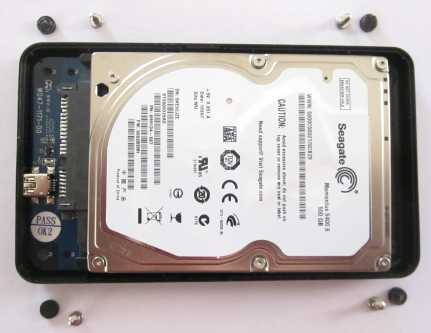
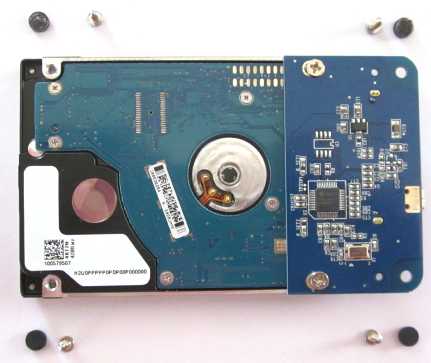
Now the internal Hard Drive and interface PCB are exposed.
Lift out the complete assembly from the moulded shell.
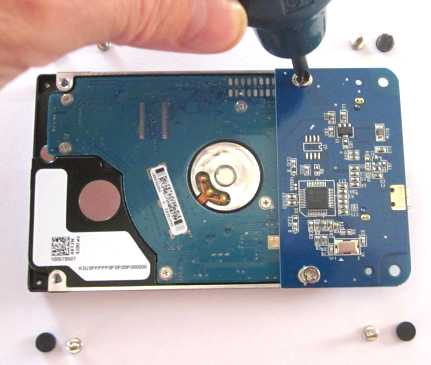
Use a Posidriv screwdriver to remove the two cross-head screws.
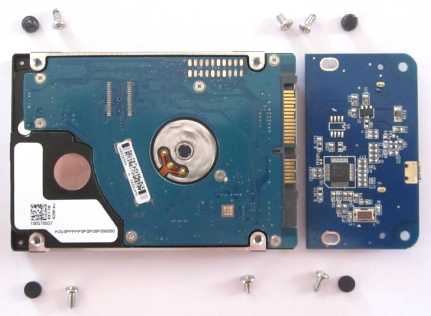
Unplug the interface PCB.
Now the Hard Drive can be inserted into a suitable caddy or housing with interface and connected to your computer for testing. If the drive is readable, you can simply fit it into a new housing and use as normal. If the drive is not readable but is detected by the computer, there's a good chance that you can use file recovery software to copy at least some of the files onto another drive. WARNING: Do not do anything that might cause the computer to write to the drive. Do not attempt to repair the faulty drive until you have copied as many files as possible from it. If you do, you could lose ALL data! If the drive can not be detected by your computer then it is beyond home recovery. You will have to pay a data recovery service if you need the data. However, you can buy a new Hard Drive and fit it into the housing to use as normal. (It would be unusual for the Hard drive AND the interface PCB both to fail.) | ||
| Send this page address - CLICK HERE - to a friend ! | ||