|
| ||
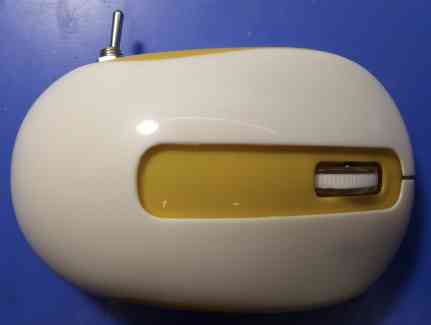
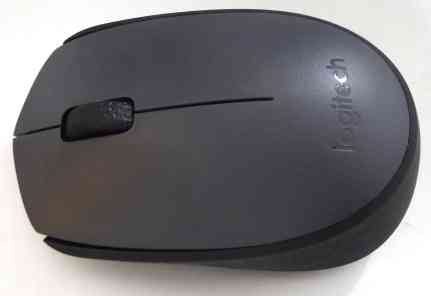
Add a Switch to a Wireless MouseThis cheap Chinese wireless mouse isn't quite as good as a logitech mouse AND it lacks an on/off switch. Frankly, I would recommend the logitech mouse. It's slightly lower, has a smoother scroll wheel and just feels better. But the Chinese mouse presented a challenge so I thought I could improve it, since the thought of having to remove the battery after each use didn't appeal to me. | ||
|
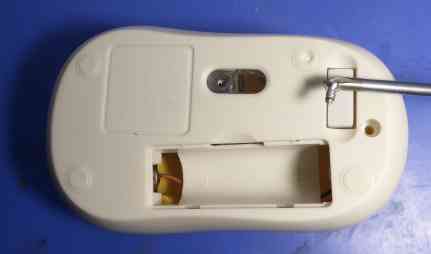
| The two mouldings are held together with a single cross-head screw. I removed the battery cover to ensure that there was no screw inside. The oblong that you see under the screwdriver blade is the USB wireless receiver, which pulls out. | |
|
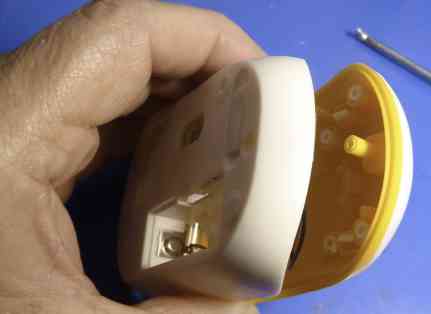
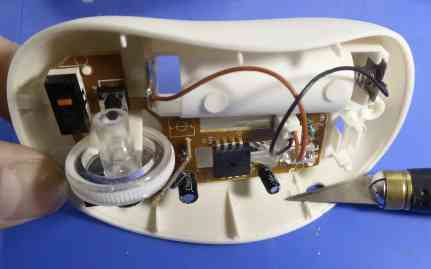
| Remove the screw and the two halfs pull apart quite easily. | |
|
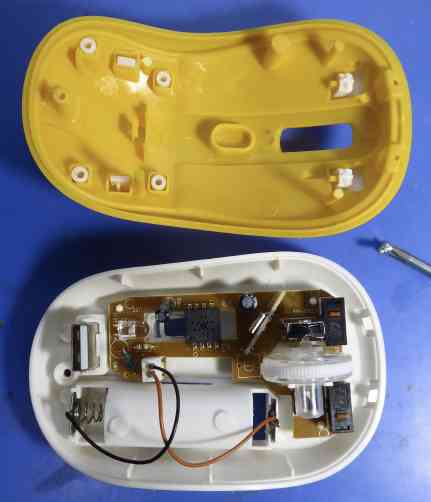
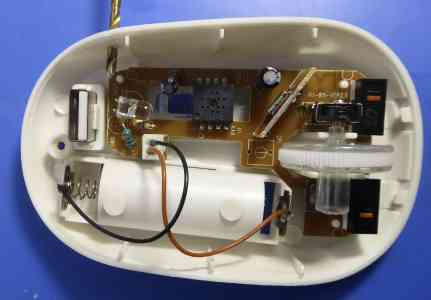
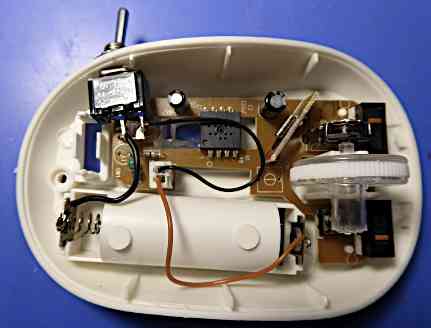
| The inside layout of the wireless mouse. You can see the battery connections. I need to break one of those wires (red or black - it doesn't matter which) and insert a switch. | |
|
| I chose a location as far back as practicable, away from the place where my thumb will be when using the mouse. Here I drilled a tiny pilot hole, being careful not to disturb the LED. Then I enlarged the hole with another drill bit to suit the switch that I intended to use. | |
|
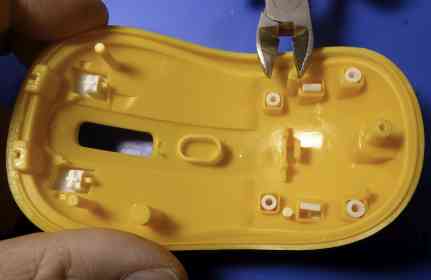
| A moulded plastic rib was in the way so I carefully cut it away with a pair of side cutters then a sharp blade. | |
| I desoldered the black wire from the battery clip and soldered an additional black wire to the clip (below). However, the existing wire is probably long enough to allow you simply to cut it at the appropriate place to solder it to the switch connections. | ||
|
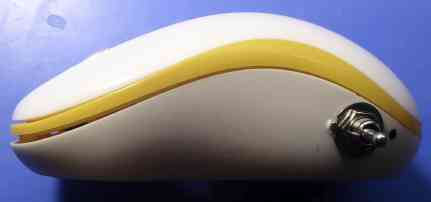
| The only switch that I had available was a miniature toggle switch. However, I recommend using a microminiature switch if you have one. It takes up less space and looks neater. You might even prefer to cut a slot and fit a tiny slide-switch instead. Hot-melt adhesive will hold it in place. | |
|
| The top moulding had a few plastic pillars. One of these came down on the switch so I cut off the excess with side cutters. | |
|
| On fitting the two mouldings together, I noticed a gap at the front. There are two tabs that must be pushed into place before the screw is fitted. | |
|
| I took it apart and fitted it together more carefully. Here is the final result. It really does need a smaller switch but it works OK. | |
|
| By the way, the one that I bought worked alongside a logitech wireless mouse without interference. | |
| Send this page address - CLICK HERE - to a friend ! | ||

